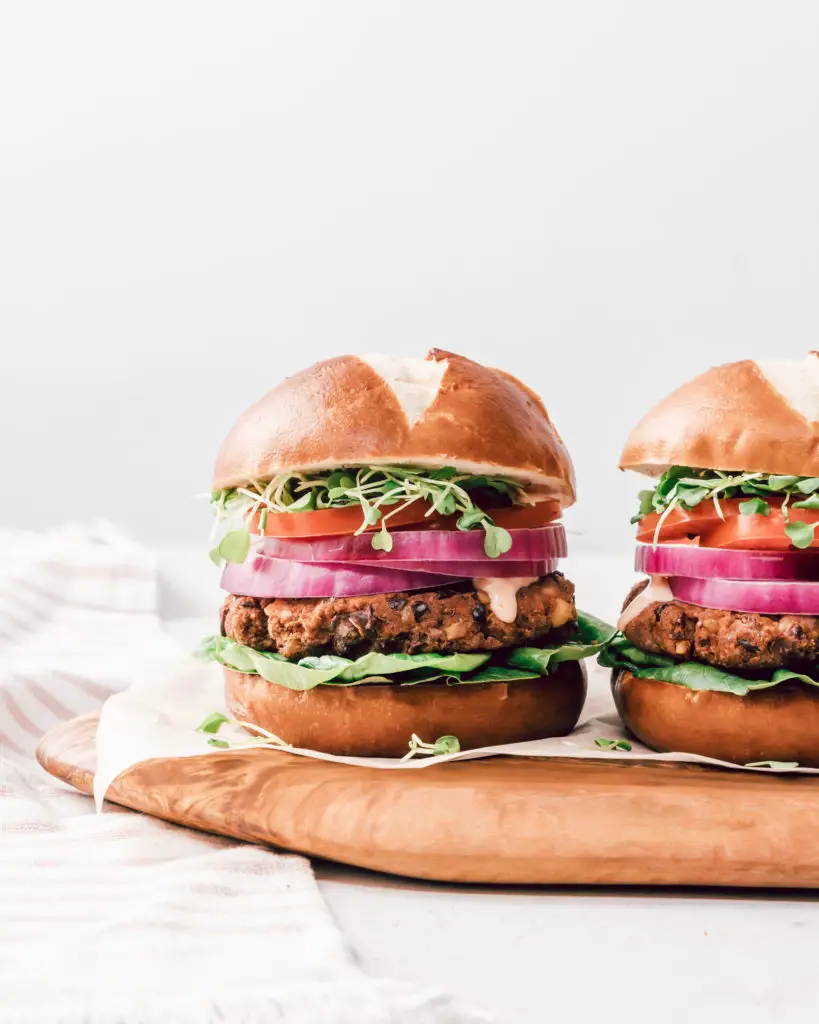
The Complete Guide to Food Photography on a Budget
A lot of aspiring food photographers think that you have to have a large following, or thousands of dollars worth of equipment to become successful in this space… and that couldn’t be further from the truth. Today, I’m going to break down a complete guide to food photography on a budget.
The Complete Guide to Food Photography on a Budget
Here are some of the things we’ll talk about (and if I missed anything at all please let me know in the comments below and I’ll add to this post):
- The Best Camera and Lens for Food Photography on a Budget
- The Best Value Food Photography Props
- Here’s Exactly How You Should Be Pricing Your Food Photography
- Budget Marketing Ideas for Food Photography
The Best Camera and Lens for Food Photography on a Budget
I’ll give you a few options here, the first being if you have a budget less than $200. If that’s the case you can absolutely use your smartphone for food photography, and then use the rest of the money for lighting equipment and/or props (more on that later).
If you have a little more money to work with, I’d recommend any camera that can shoot manual – which is pretty much any DSLR or mirrorless camera. We’ve used a variety of different camera brands, and no one can ever go through a portfolio and say that a photo was shot with Canon, that was with Nikon, Sony, etc. Let me give you an analogy, if I gave Tiger Words the cheapest golf club at Walmart, he’d still kick my butt at golf. It isn’t about the gear, it’s about how you use it.
I’ll give you two of my personal recommendations, just keep in mind that if you ask 10 different photographers you might get 10 different opinions.
The original Sony A7 – Yes, the same A7 that came out in 2013 (and won Camera of the Year btw). Yes, you could spend thousands more on the current A7 III, A9 or A7R IV… but how much better is the image quality? Well, DX0MARK, a company who specializes in testing and rating cameras and lenses, scores the A7III a few points ahead of the A7. But the portrait score (color depth) and landscape score (dynamic range) are virtually identical, what you really get is better ISO performance and a lot of more features (dual card slots, 4k video, image stabilization, etc.). You can find Sony A7’s used on eBay with a kit lens for as low as $500. In my opinion, this is the best value for a full frame camera.
Olympus OM-D EM-5 Mark II – If you want something a little more compact, I love the EM-5 II. Pair it with something like the Panasonic 20mm f1.7 lens and you have a lightweight combo that you can take to restaurants without sticking out like a sore thumb. It also has a high-res multi shot photo mode that many have dubbed one of the best still life cameras on the market – even rivaling medium format cameras.
Next, let’s talk about lenses. If you don’t have a budget for another lens, that’s fine your kit lens will work. But if you’re in need of a budget option that can bring in more light, my personal favorite, which is available with any camera manufacturer, is the “nifty fifty.” Canon, Nikon and Sony all have a 50mm f1.8 lens available for less than $300. Keep in mind the crop factor if you’re using an APS-C or Micro Four Thirds camera, the crop factor is 1.5x for APS-C and 2x for Micro Four Thirds. Thus the aforementioned Panasonic 20mm f1.7, is actually a 40mm full frame equivalent. If you’re on a tighter budget, there’s plenty of legacy lenses that you can adapt for under $100. Just keep in mind that they’ll be manual focus, but a lot of cameras today have focus peaking which makes it a lot easier.
If you are able to get away with natural light, that is the most budget friendly option. If you are looking into artificial lighting I recommend using continuous lighting. Two great options are Godox SL-60 LED and Aputure Amaran 200d LED.
The Best Value Food Photography Props
After investing in a camera and lens, purchasing a whole kitchen full of beautiful props might not be in the budget. And this is totally okay. I actually recommend getting creative and using things that you most likely already have or can grab for cheap.
#1: Photography surfaces and backdrop: A good backdrop can go a long way to creating a cohesive look for your photos. When you’re on a budget, I recommend starting out with something neutral that aligns with your brand. Think white marble. Something like actual white marble would be pricey but there are lots of options to imitate this look. I recommend a paper photography backdrop (like this one that comes with a surface and a backdrop) or a vinyl surface like you can get from Ink & Elm. Here’s our favorite one that we use all the time – Texturized. I recommend something that is at least 2’x2’. We usually get 3’x3’ to be safe and have all the space we need to capture larger dishes and scenes. You’ll also want to look for something that is waterproof so you can get a little messy and wipe away any drips.
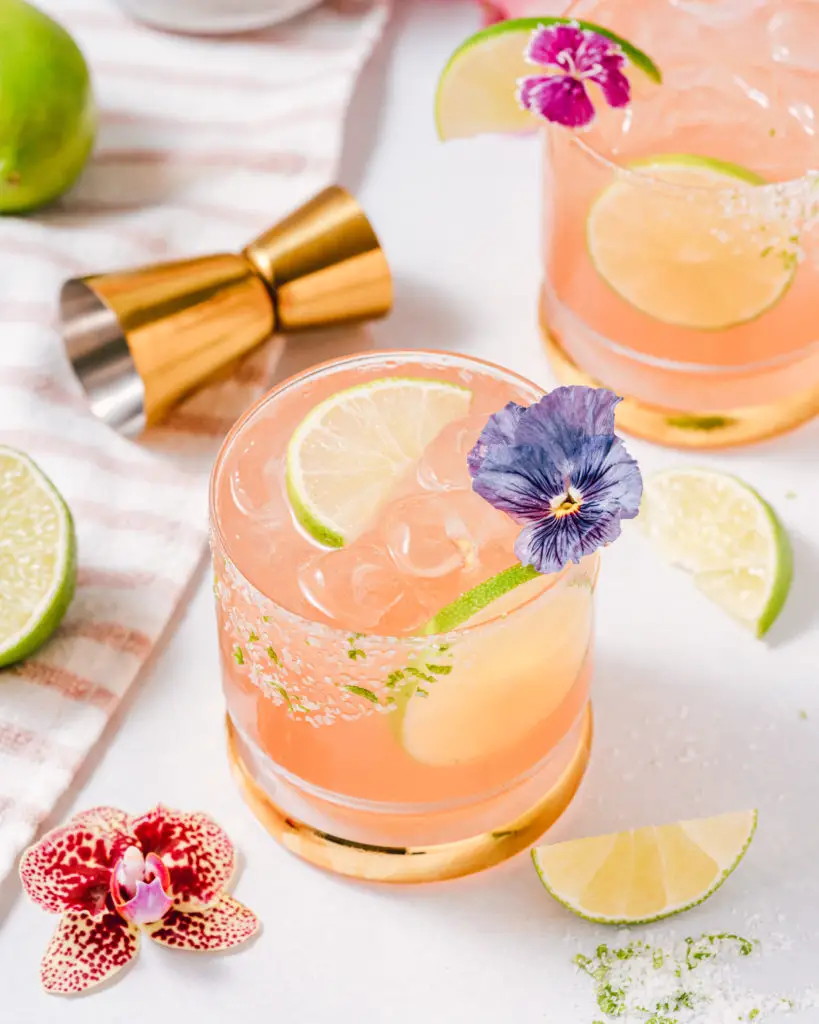
#2: Tableware: Depending on what types of food and drinks you shoot, you’ll need some dishes, glasses, plates, etc. The best tip for staying on a budget is to focus on neutral tableware that you can use often instead of unique things that aren’t very versatile (you can things like crazy bird glasses later). For dishes and bowls, look for neutral, solid pieces that are matte so you don’t have to worry about reflections. For glassware, look for classic and clean designs like coupes, Nick & Nora glasses, or old fashioned glasses. My favorite places to find these are Crate and Barrel, Target, World Market and Amazon. It can also be nice to add a few pretty things to your shots like a nice cocktail shaker (I have this one and it’s only $16.).
#3: Linens: Linens like cloth napkins are an inexpensive way to add color, texture and style to your scene. I recommend looking for actual linen napkins in solid colors or with classic patterns like stripes that you can use often. When you’re building up your collection, you can also use clothing. I use blouses and tops instead of linens all the time and you would never be able to tell from the final photos!
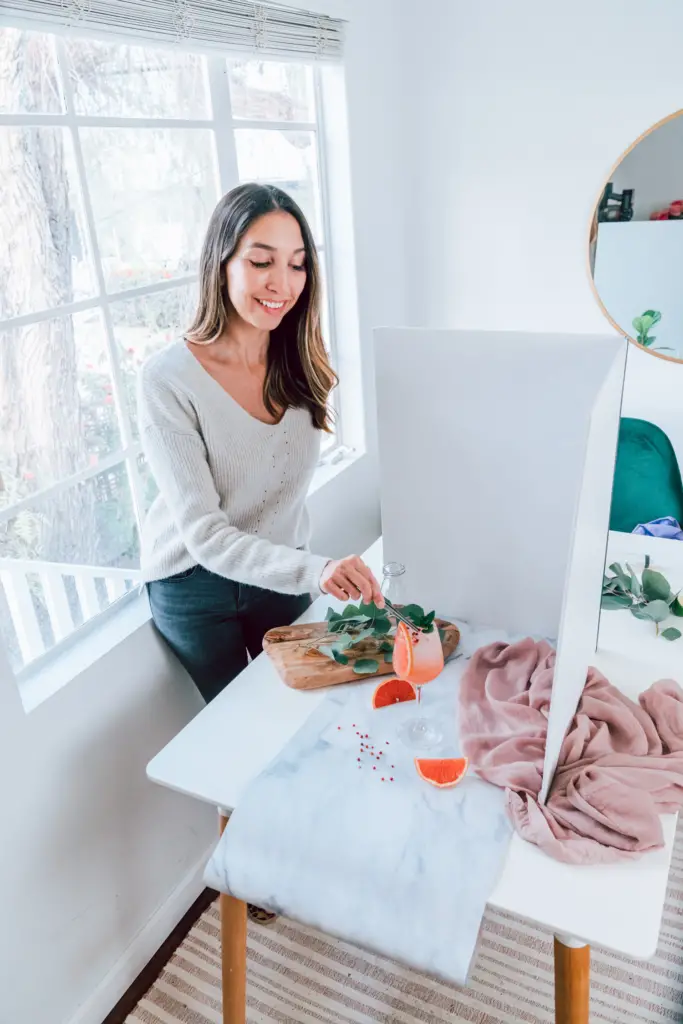
#4: Other props: Some other budget props to incorporate into your photos are ingredients from your recipe, plants and greenery and parchment paper. You really don’t need to get fancy to get started. You can see a setup I did for less than $20 here in this post – $20 Food Photography Setup.
Here’s Exactly How You Should Be Pricing Your Food Photography
Never forget why you got into food photography. For most it’s because you love it. I love photography, but I never want it to feel like a job. If you’re ever feeling like, “Ugh, I really don’t want to do this gig”, think about how you would feel if you raised your prices. You might not be motivated at $30/hr, but you might feel a little differently at $300/hr.
My number one recommendation is before you set your pricing, really put into account everything that goes into a job or partnership. Your expertise and time are valuable and if you really want to go from hobby to business… you need to make sure you are compensated. Remember to consider:
- The cost of anything you’ll be purchasing: groceries, props, surfaces, etc.
- The time it will take to complete the job: developing and testing recipes, shopping, prepping, cooking, shooting, editing, promoting, communicating with the brand
- The value of your engaged audience
- Licensing and rights
Budget Marketing Ideas for Food Photography
Getting your food photography out to the world doesn’t have to be expensive. There are free or inexpensive ways to spread the word about your food photography.
#1 – Spread the Word to Your Personal Network
You never know who’s in your network. Make sure to let your friends and family know about your food photography services, share your business on your personal Instagram and Facebook pages and don’t be afraid to ask your friends if they know someone who can use your photography services.
#2 – Share on Social Media
My number 1 recommendation for marketing your photography is social media. One of the biggest mistakes I see photographers making is just using social media as a portfolio. Social media is meant to be social and the algorithm gods will reward you for using it as intended. I recommend creating an Instagram account and providing valuable content with gorgeous photos and tagging the brands you love. This is the easiest way to start attracting attention from brands.
#3 – Basic SEO for Your Website
“If you build it, they will come.”
Wrong. If your website can’t be found on Google, you’re missing out on a ton of potential clients. SEO consultants can be expensive, so here are a few things you could do yourself that can optimize your website:
- Here’s a good general overview for On-Page SEO, and below I’ll list a few tips specific to food photographers.
- Your Title Tag (the headline you see in Google searches) should include your targeted keywords. A good example would be, “Food Photographer in Los Angeles, CA – John Smith”
- Meta Description (the description you see in Google searches) arguably isn’t a ranking factor according to Google, but many studies have shown that CTR and Bounce Rate is. Thus you’ll want to optimize your meta description for the highest CTR, and subsequently you’ll want to optimize your website to lower your bounce rate. An example of a meta description could be, “I’m John Smith and I’m not your average food photographer. Based in Los Angeles, I’ve worked with top local restaurants and national brands.”
- Lastly, you’ll want to optimize the content on your page. Shoot for at least 500 words, and use a few keywords to let Google know what your page is about (but don’t over do it, keyword stuffing is a big no-no). A keyword density of 2-3% is ideal.
We hope these tips for food photography on a budget helped, and as always, if you guys have any questions or comments please let us know in the comments below!
Ready to take your food photography to the next level? Discover how to take drool-worthy food photos 📸 🍔 that generate an income (without investing tons in fancy equipment) in this FREE workshop 👉 5 Secrets to High-End Food (& Drink) Photography That Makes You More Money!
*This post contains affiliate links*