3 Steps For Shooting with Natural Light
When it comes to taking photos, maybe you’ve done things one way and your photos just don’t turn out great.
You’ve chalked the reasoning up to something like “my food just doesn’t photograph well” or “my house doesn’t have enough light”…
But it’s a lot more likely that you’re just missing an important step that could change everything about the photo.
And when it comes to taking photos by a window, there are 3 simple steps and it’s pretty common to miss at least one of them.
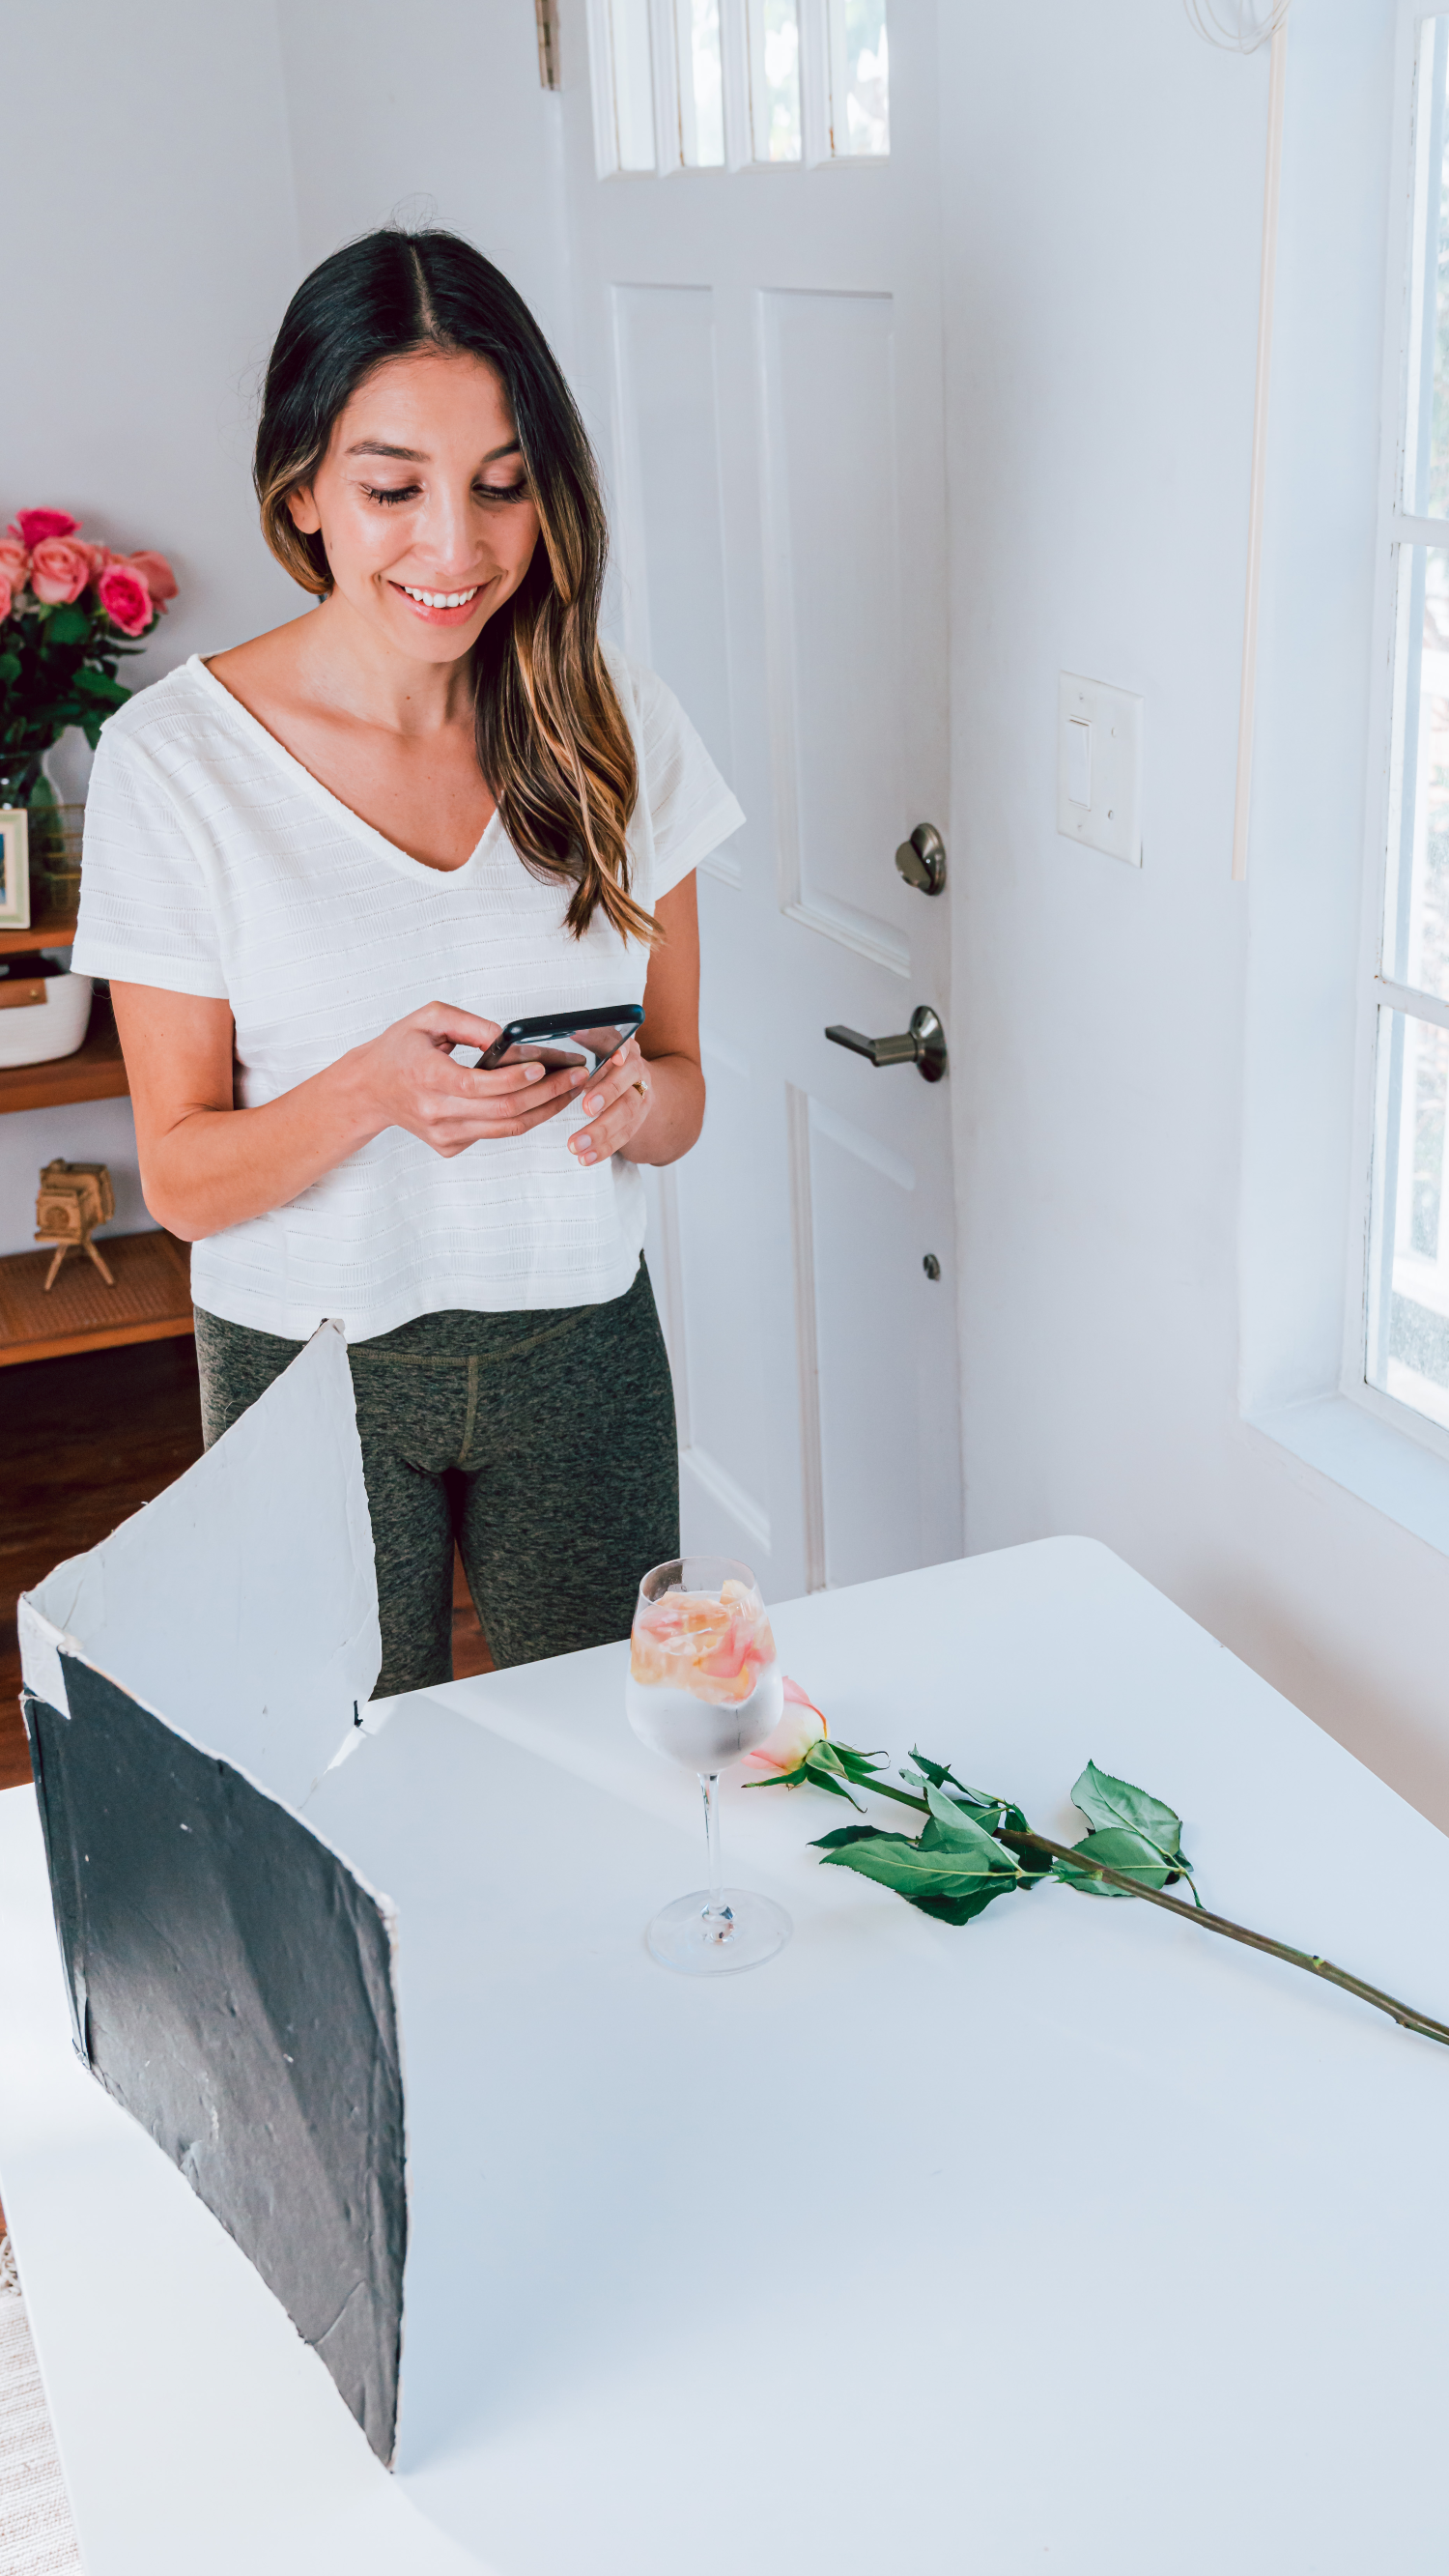
1. Lift surface to window height
This gives the subject more exposure to the light that is coming through your window. You may be shooting next to a window, but until you lift your subject up to the same height as the window, you’re missing out on light.
2. Bounce light back at your subject
Place a white bounce card across from your subject but out of the frame so that light is bouncing off the card and on the subject. This creates more light and a softer light on the subject.
3. Turn off or block all other lights
Block out other light sources and make sure to turn off any other lights in the room. Trust me, this will make a huge difference when it comes to editing and you won’t have a weird mixture of different types of light or light coming from different directions.
If you’re looking to get started with food photography, check out my free video about how to get started with food photography on a budget (a $20 budget to be exact)!
And if you’re ready to take things to the next level with your food photography, our program Bland to On Brand Photography helps you do just that. Check out the details here!


